As mentioned on the last page, I really don't want to have to mess with a keyboard and mouse on the little
stepper control computer that is running LinuxCNC.
I have a small monitor connected to it so that I can see the progress and be alerted to any problems.
The goal is to add a few controls to do the occasional manual movement of the stage, start/stop the operation, etc.
The good news here is that LinuxCNC provides the ability to easily add a wide variety of external controls
which can make your life easy.
As mentioned earlier, you really MUST have a big red emergency stop switch.
Crashes can be expensive.
The proper way to connect the emergency stop switch is to wire it directly to the driver circuit.
This is the most reliable way to stop things quickly.
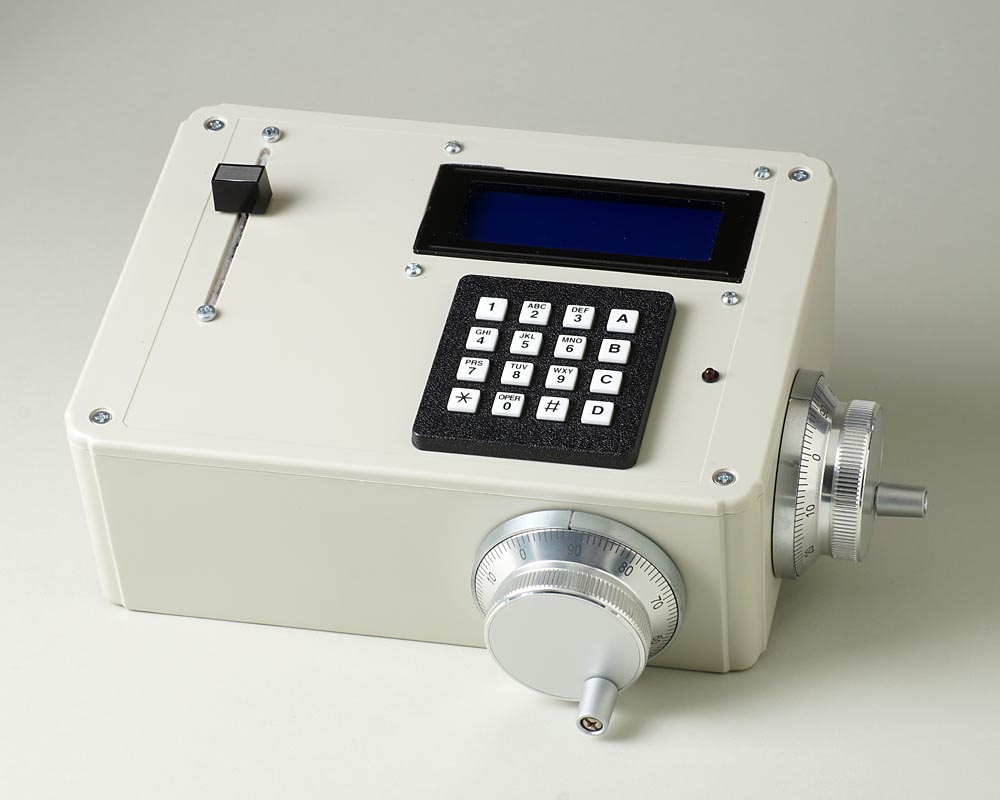
I built my own box that had the necessary controls which are connected via a USB cable to the
stepper control computer running LinuxCNC.
Click on the photo in the left margin for a larger view.
Currently, the controls I have are:
- Dials to manually control the movement of both the X and Z stage.
- A linear slider to over-ride the feed rate (to slow things down quickly in case the cutter is bogging down).
- An LCD display showing the current position (X, Z, and C) and other information.
- A keypad for controlling certain functions (like start, stop, pause, etc.)
- A red LED to remind me when the dials are active.
Interfacing controls via USB
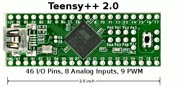
The Teensy++ 2.0 board is the easiest way I've found to connect a variety of controls to a computer via USB.
Basically, it's a little circuit board with a USB connector and lots of inputs/outputs.
The board makes your controls look like a Human Interface Device (HID) which is recognized by any computer
without the need for special drivers.
Other HID devices you may be familiar with include keyboards, mice, and gaming joysticks.
The best way to program the Teensy board is by means of the
GenericHID software
written by Frank Tkalcevic in Australia.
The software provides an easy drag-and-drop method of connecting various controls to the Teensy board,
then with the press of a button it programs the Teensy board accordingly.
The software gives the ability to test the operation of the controls.
Be sure to read all of Franks instructions on installing and using the program.
Also, if you are running the software on Linux, be sure to set the Linux udev rules.
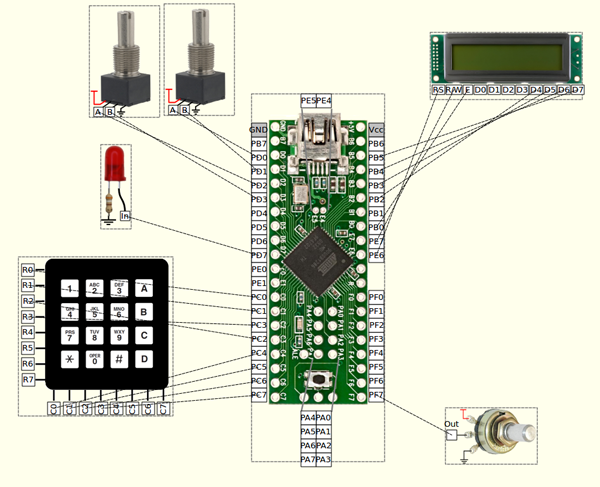
Below is a screenshot of the connections I made with the GenericHID software:
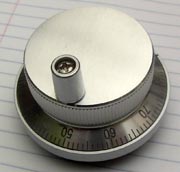
Dials -- Rotary Manual Pulse Generator
I'm using two separate dials for manually moving the X and Z stage because I don't
like to use a selector switch with a single dial.
The ones I'm using are MPG5 from CNC4PC.com.
These really feel nice, have a detent per pulse, and have a crank for when you want to make larger movements.
They have 100 divisions per rotation which can be used to make a 1/10th inch movement per rotation just
like a Hardinge compound.
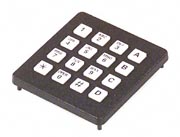
Keypad
I'm using a 4x4 keypad (Digikey GH5003-ND)
which interfaces nicely with the Teensy board.
It gives me some extra ABCD keys that I can program to do different things.
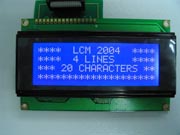
LCD Display
I'm using a HD44780 20x4 LCD w/White Text on blue background which I purchased on eBay.
This display only draws 30ma of current for the backlight (some displays use a lot more power).
It also interfaces nicely with the Teensy board and the GenericHID software.
Other items that can be added are:
- Slide potentiometer (for feed rate over-ride).
Unfortunately, sliders are only available in a log taper because they are generally used for audio applications.
This can be corrected easily with software as noted later.
- Various kinds of LEDs in various colors can be used to connect to the Teensy board.
- Other switches can be connected to control functions directly.
Controlling LinuxCNC from the hardware
The last thing that needs to be done is to make the connection between the HID hardware and LinuxCNC.
This is done in two stages:
First, install the hidconfig and hidcomp software on the control computer that is running LinuxCNC.
This is another wonderful little package that has been made available by Frank Tkalcevic.
The hidconfig software gives you a quick and easy means of giving names to your controls and configuring the controls.
For example, the log slider can be given a correction curve to make it linear again.
Most importantly, the software gives you the ability to place certain information on your LCD display.
Multiple screens of information can be defined and formatted as you like.
The hidcomp software provides the tie-in between the HID hardware and the real-time operation of the LinuxCNC software.
Be sure to read all of Frank's instructions on installing and using these pieces of software.
In particular, be sure to set the Linux udev rules so that you can read and write to your USB HID hardware.
Second, you need to write some code in a .hal file for LinuxCNC to "wire up" connections between your HID hardware
and the LinuxCNC functions.
The .hal file is for "Hardware Abstraction Layer" connections which is like wiring up a bread-board.
See the LinuxCNC HAL Manual for more details and examples.