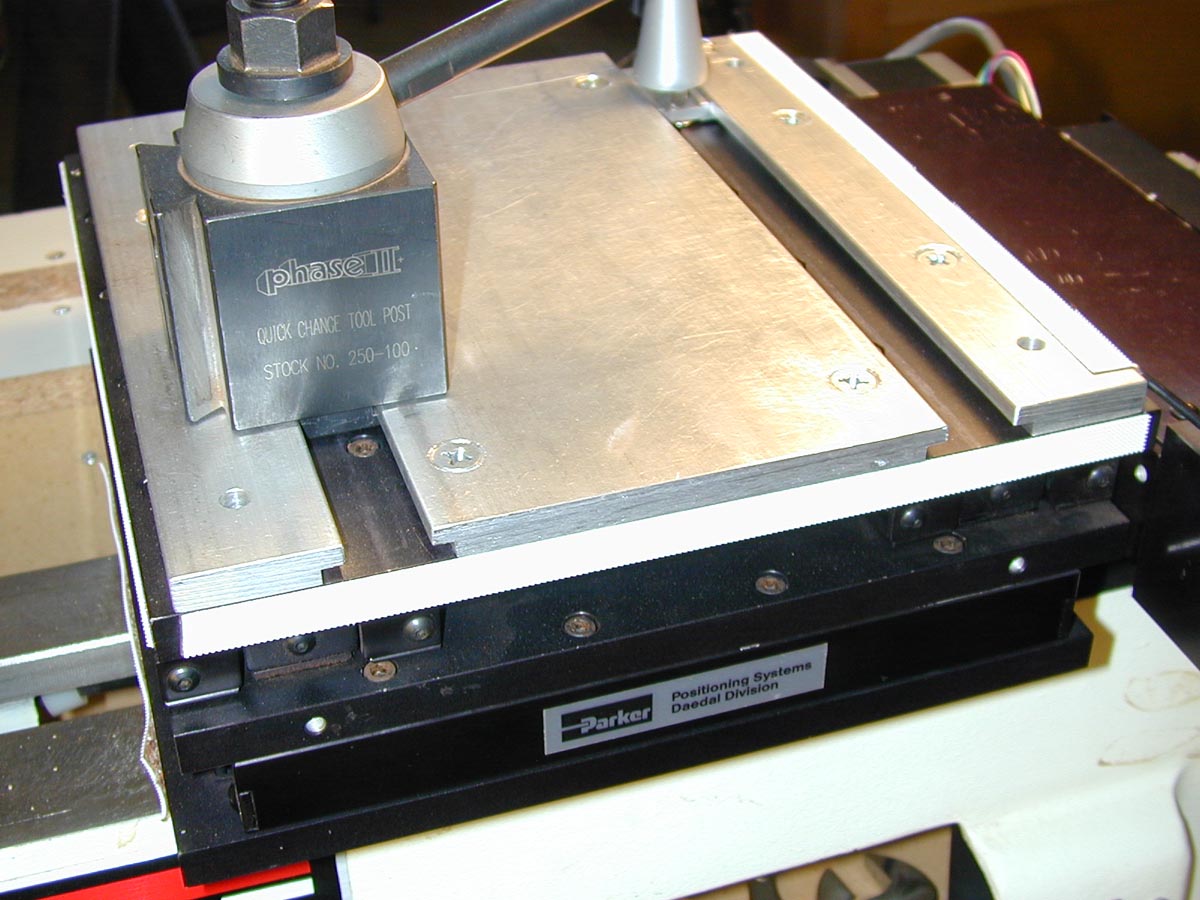
On the top of the stage, I mounted several pieces of 3/8" aluminum plate. To accommodate the T-nut for mounting the tool post, I used the milling machine to cut rabbets in the edges of the plates (see photo left below). Then, by spacing the plates appropriately, I have a slot so that I can easily slide the tool post to any position. I'm currently using a Phase II quick-change tool post. (Click on the thumbnail on the left for a closer view).
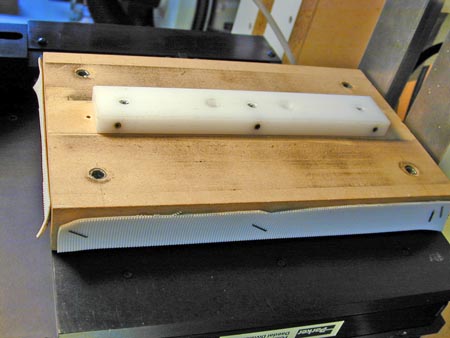
On the bottom of the stage, I mounted a piece of MDF just to raise the stage a bit. I want the top of the aluminum plate to be 5.125" above the bed of the JET lathe. On the center line, I mounted a piece of UHMW plastic to fit between the rails. I wanted a very snug fit without any twisting, so i drilled and tapped a few holes and mounted set screws in the side of the plastic. I can unscrew the set screws to adjust for a close fit that still allows movement along the bed of the lathe. I also have several holes through the plastic and have some 1/4-20 threaded inserts in the MDF. Once the stage is on the bed of the lathe, I use a 1/4-20 bolt with a big plastic knob on the end coming up from the bottom of the lathe to secure the stage tightly on the bed of the lathe. I have a big washer on the bolt that's larger than the spacing between the rails of the bed. There are more elegant ways to mount the stage to the bed of the lathe, but this works OK for me.
This is important! Make sure that the stage is square on the bed of the lathe. This is checked by mounting a 4" diameter flat piece in the chuck of the lathe. Mount a dial indicator on the bed of the lathe and run it across the surface of the flat piece. If you get any variation, adjust the mount between the MDF spacer and the stage.